What you get
You get a saved file in your dashboard and, when shared, a page where a recipient can access it.
How to use it
- Open the Files tab in My pastes.
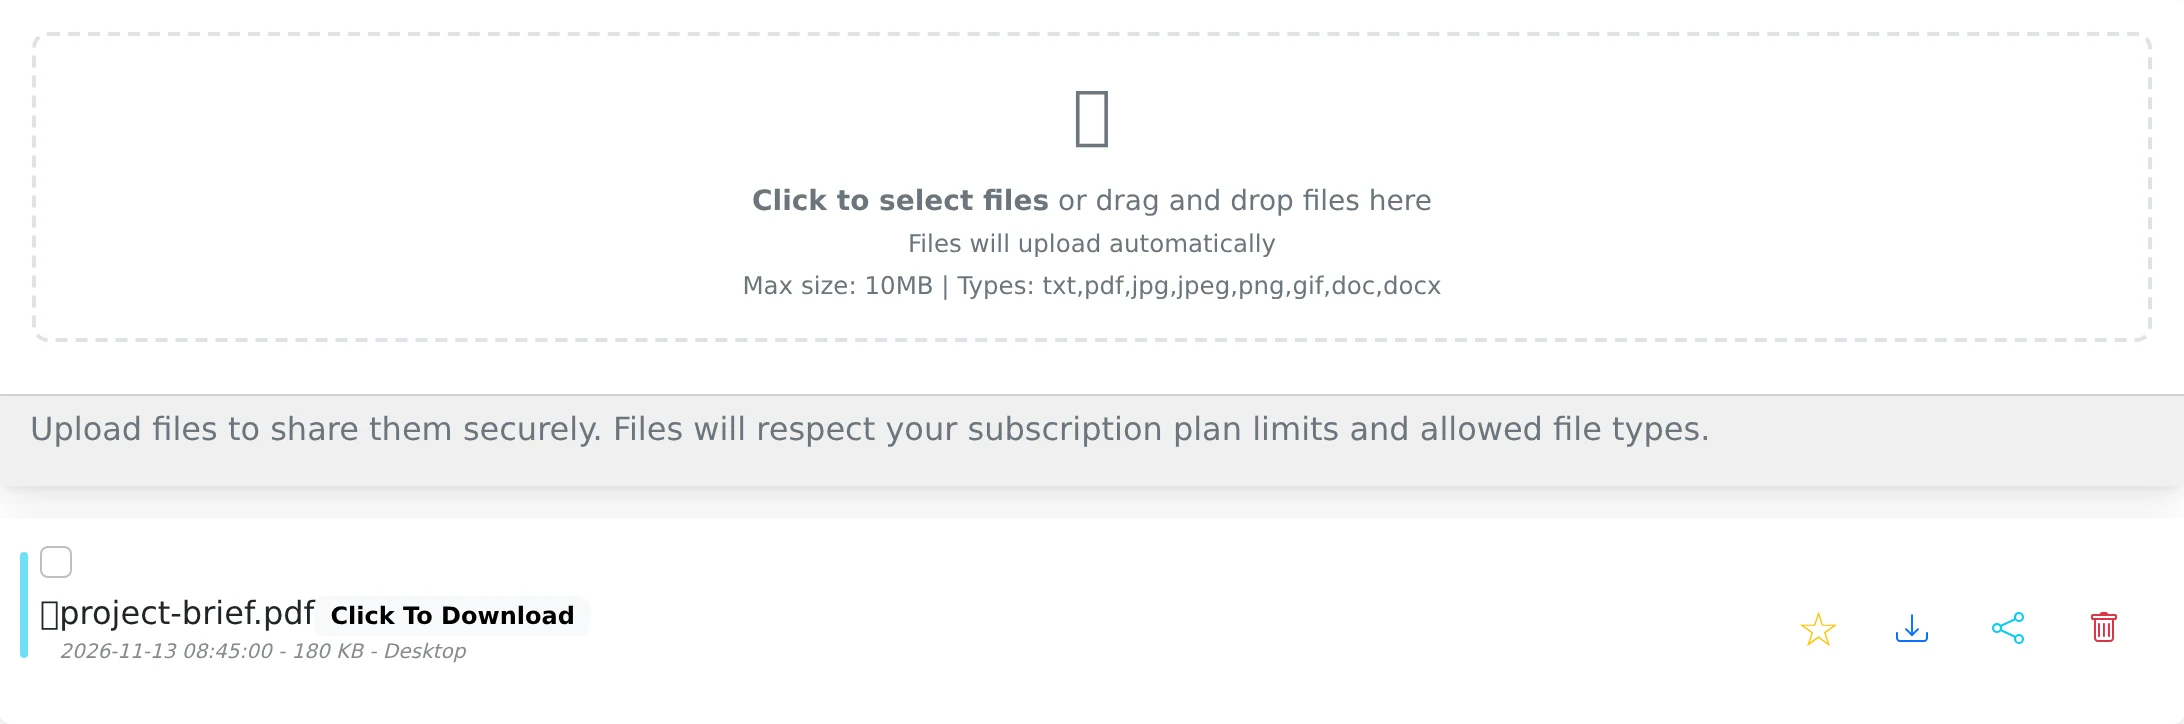
- Choose a file or use the upload area, then wait for the upload to complete.
- Check the uploaded item in the file list. Use Download to retrieve your own copy.
- Open Share, select an audience and any availability limits, then copy the resulting link.
Send a link instead of another attachment
A file paste gives you one place to manage a document or image. Recipients open the shared page in their browser. Supported images can be shown on the page; other files are presented with download information.
The Files tab keeps uploads separate from text while the All tab brings your items together. You can favorite a file or make it private again through its sharing controls.
Check the plan before a large upload
File size and allowed extensions are checked against the current account plan. Review the limit shown in the upload interface or compare plans before sending a large archive. A rejected upload needs a smaller file, a supported type, or a suitable plan.
File-page restrictions do not currently cover every direct download or image URL. Do not rely on expiry, email or payment gates, or repeat-view restrictions to protect a file that remains publicly shared. Making the file private removes the active share; it still cannot revoke a copy someone has already downloaded.
Opening a public file page and requesting its image or download are separate requests that can consume a view budget. Use ordinary sharing for a file handoff and test the complete recipient workflow before selecting a one-read rule.
Things to know
- Use an informative filename so recipients know what they are downloading.
- Delete a file from the dashboard only when you also want to remove your stored copy. Making it private is the appropriate choice for stopping public sharing.